
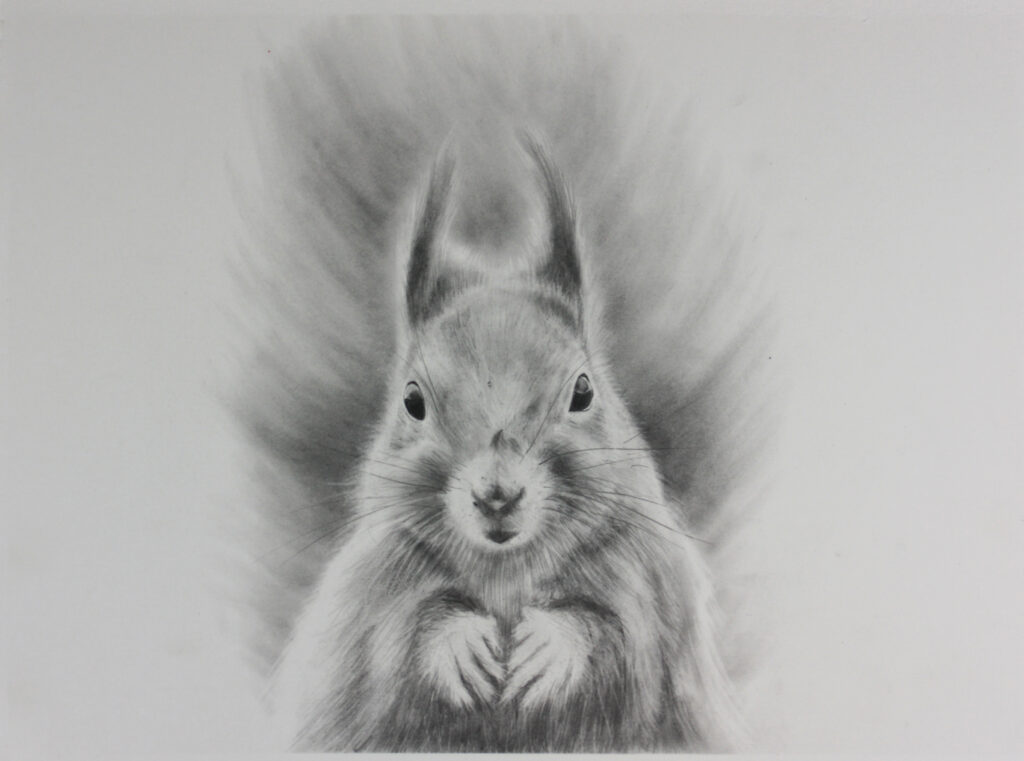
This step-by-step tutorial covers the techniques I used to create the caricature, musculature, fur, and also finer details of a squirrel.
After my preliminary sketch, which I established with a 6H pencil, I began using graphite powder. This is easy to make at home and this video shows you the quick process.
By utilizing graphite powder, I can create my initial base layer, as well as begin defining the soft edges of the squirrel’s bushy tail. When creating an animal drawing, it’s important to go in the direction of the fur. To apply the powder, I use an eyeshadow applicator, either on it’s flat side to cover larger areas, or on it’s tip to create edges and lines. I applied this powder to the entire body of the squirrel.
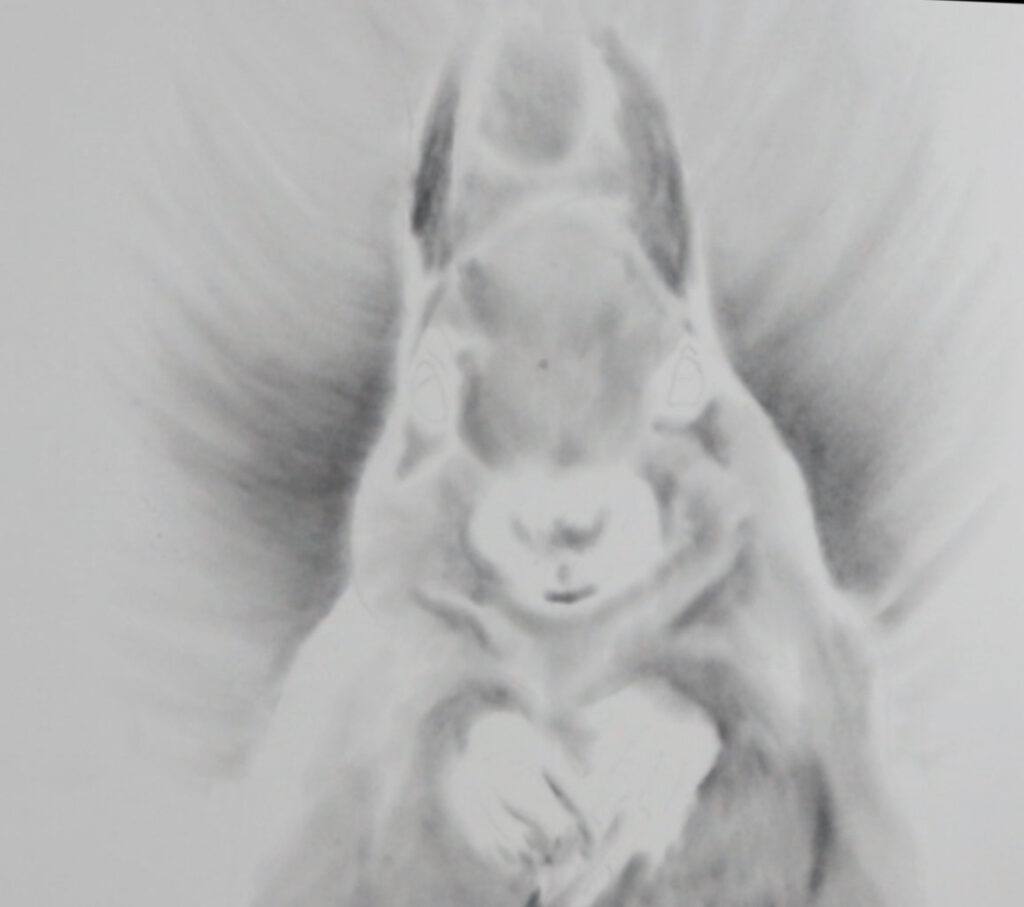
Using graphite powder saves time and covers large areas fast. This powder can be layered, so if I need more depth, I can add another layer on top of the previous layer. It’s useful for animals because it reveals the softness of an animal’s fur.
Using a sharpened pencil, I begin adding details to the squirrel’s eye, holding the pencil close to the tip to get as much control as possible. I wanted to achieve really dark eyes, so I used heavier pressure with a pencil sharpened to a sharp point. Faber Castell 9000 Series pencils are my preferred choice of graphite pencils. Once sharpened they keep a sharp point for a very long time. The eyes are the real focus of this drawing, so I spent some time ensuring I had enough detail. To avoid smudging, I like to use a sheet of glassine paper which acts as a shield. It has a waxy surface and is transparent so I can see my work underneath.
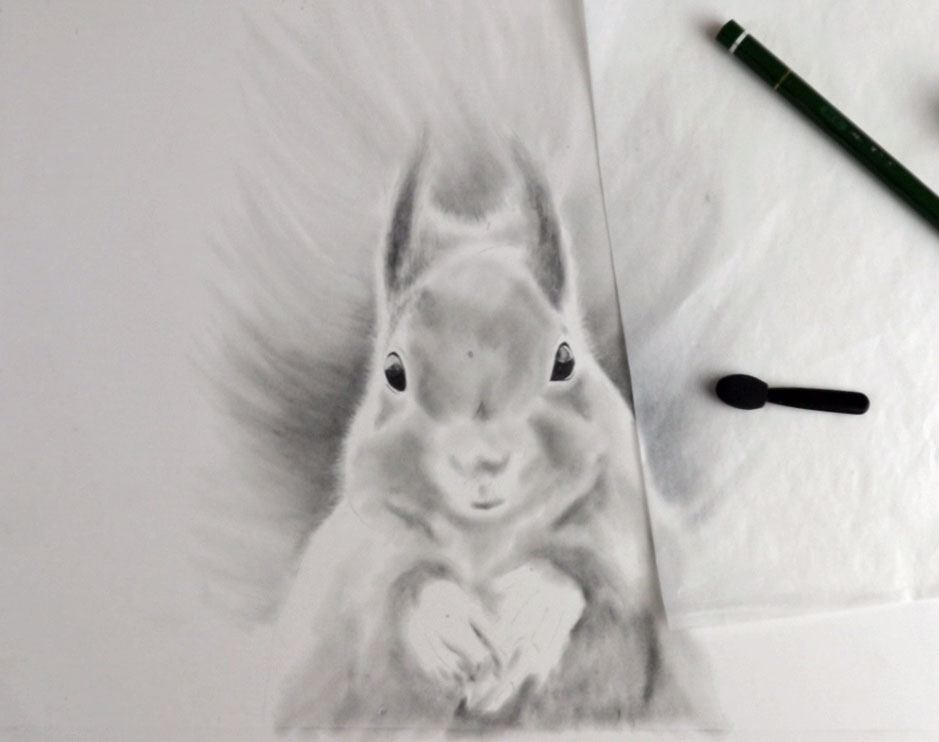
To refine details, I love using a Tombow Mono Eraser. This eraser is a ‘must have’ tool for any artist working in graphite. It can be used in a wide variety of ways. I used it to create a slight halo around the squirrel to allow his face to stand out from the tail behind. I also added some tiny little hairs there too, which would have been difficult to achieve otherwise.
When particles from the eraser build up, I sweep them away from the page with a clean brush. It’s always best to avoid using oils from fingers.
To add softness into tiny areas of the features, I also used a blending stump. I used the point of it to add in some graphite in the eye area. Drawing an animal requires paying close attention to the reference, so I spend a lot of time looking back and forth at my reference and my work.
I add more pencil work over the top of the graphite powder, creating depth in the ears and adding lots of individual hairs. These movements are fast and light in pressure, tailing off at the end of my strokes. I also add markings more to the mouth and nose, so that I can create the squirrel’s individual characteristics.
Now I can create a second layer of graphite powder to areas needing more depth. To use the powder, I dip it into the container, using very little. Then I carve out small shapes with the Tombow eraser to create tiny little hairs. Tapering off at the end of my movements helps to ensure a soft fluffy look. It’s very important to remember to pay attention to the direction of the fur to achieve realism. I want to give the impression of a thick coat.
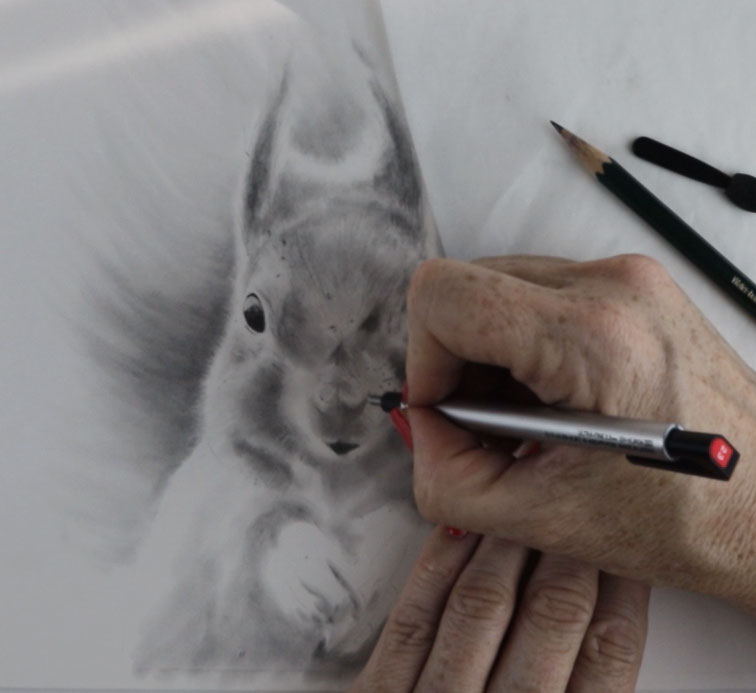
To complete the drawing, I add whiskers. I use the sharp pencil to create some thin lines. Some of those individual hairs start not only from the center, but at random areas like the eyes and side of the face. I create these using ONE fine line, alternating with fine lines using the Tombow eraser. The erased lines to make them really stand out from the shadowed area below. Randomness is key.
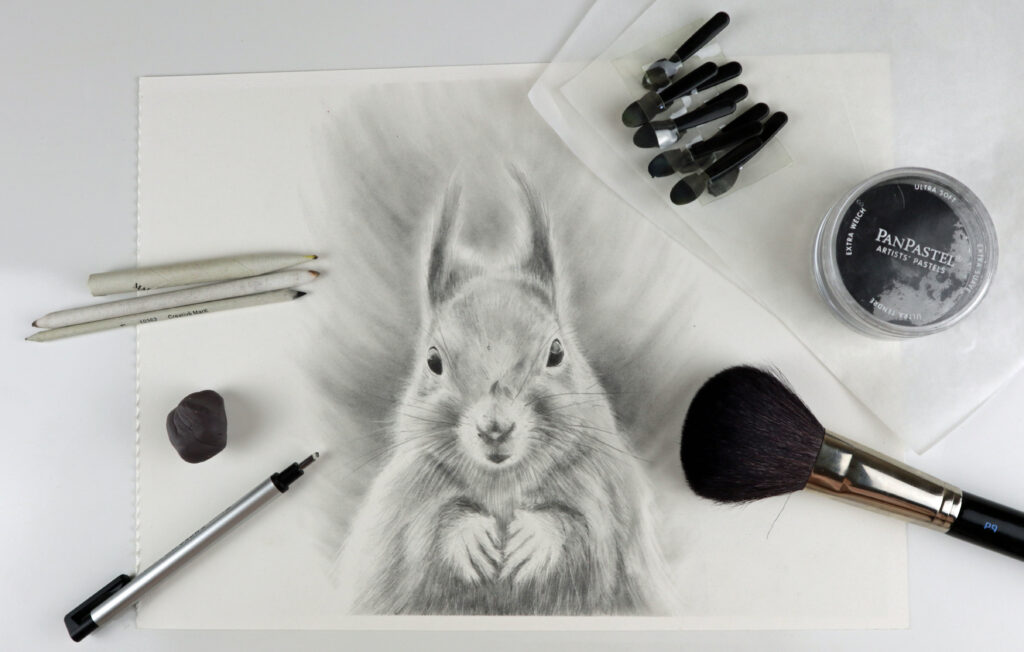
Supply list to create the squirrel:
Strathmore Bristol Smooth 9 x 12 paper pad
Faber Castell Drawing Pencil set – you’ll need a 2B, and a 6H for sketch lines
Faber Castell kneaded eraser for minimizing sketch lines
Graphite powder
Tombow Mono Eraser
Blending stumps
Eye shadow applicators
Clean makeup brush or drafting brush
Glassine
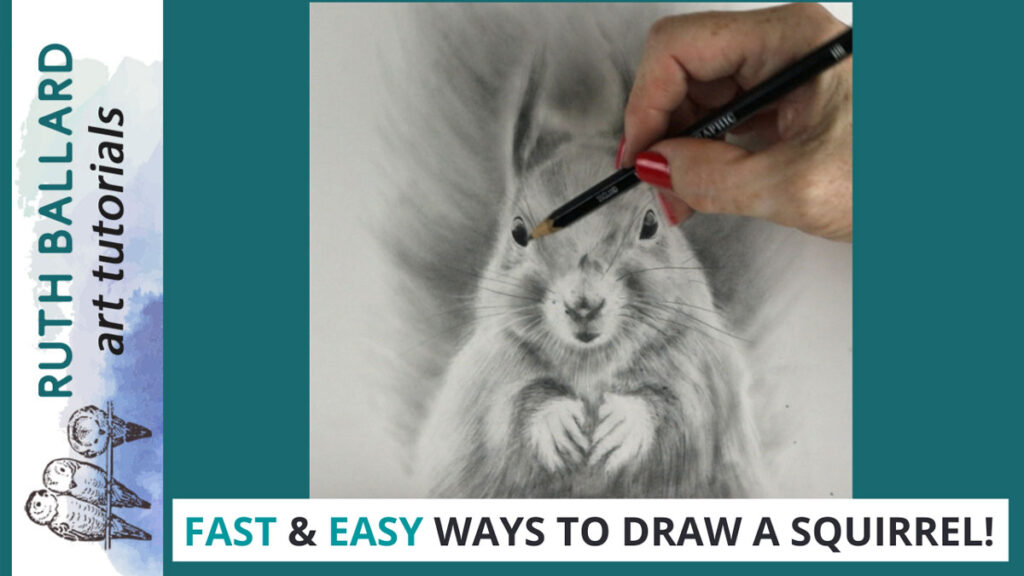
You can watch the process I took to create this squirrel in more detail here:
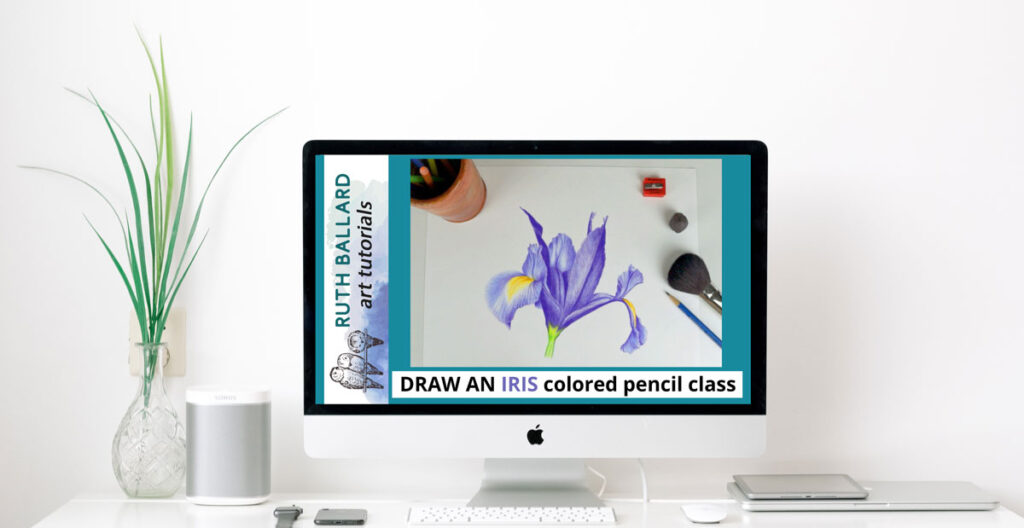
Create a realistic looking Iris with my FREE colored pencil drawing class!
This video tutorial includes a copyright-free reference, traceable line art, supply list and colored pencil swatch.
I talk you through all the techniques required to begin creating an iris botanical illustration from start to finish!
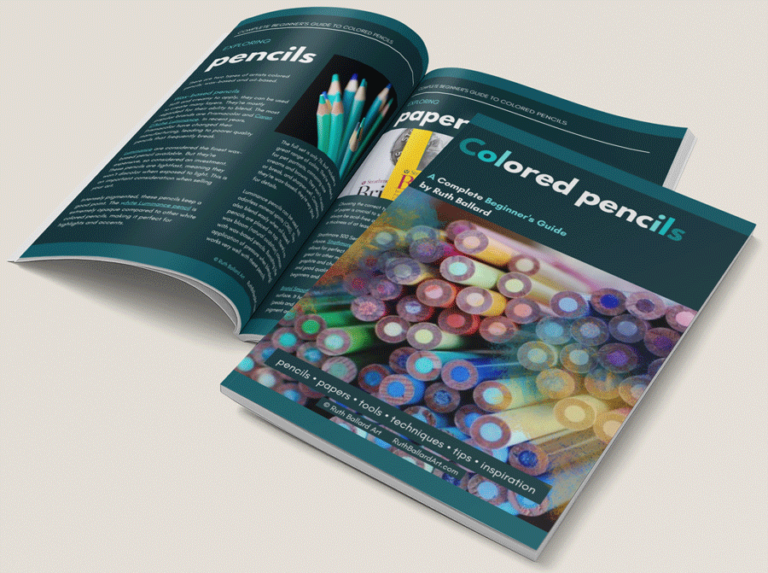
Colored Pencils – A Complete Beginner’s Guide
All the information you need to start creating beautiful drawings is contained within this gorgeous 20-page guide! It’s jam-packed with articles recommending the best pencils and papers to use as well the best tools to guide your artistic journey. Offering tips, techniques and inspiration, it’s yours FREE to download!
