Mastering graphite is one of the most obvious and important skills an artist should have! It lays the foundation for much of your work in other mediums. It’s also immensely satisfying.
While it’s important to practice regularly, there’s much more to mastering graphite! It isn’t just about repetition. Utilizing new drawing concepts and techniques are just as necessary. Breaking old habits is essential to growth as an artist. These days we are fortunate to have a much wider availability of drawing materials, as well as different techniques that can be utilized. Good quality traditional staples are a must. 1 Paper
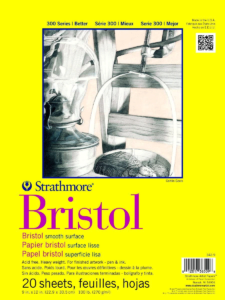
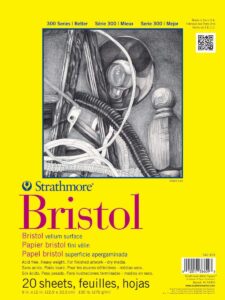
Starting with good paper is a necessity. Good quality SMOOTH paper provides a great foundation and fortunately, isn’t expensive. I like Strathmore Bristol Smooth 300 Series and also Strathmore Bristol Vellum paper, which has more tooth and is great for colored pencils as well as graphite.
I like to use a 9 x 12 inch size, as it gives enough workspace and I can always cut it down to an 8 x 10 size if my drawing comes out smaller than I intended.
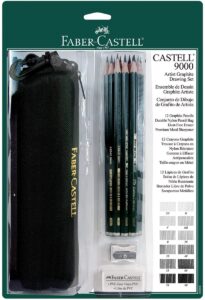
2 Pencils Faber Castell 9000 Series pencils have an extremely hard lead and keep a sharp point for a very long time. Because they rarely need sharpening, you can work uninterrupted. This also prolongs the life of the pencil. You can buy pencils in sets or individually. I recommend the set of Faber Castell 9000 Series sold in a tin containing the full range of hard and soft pencils.
3 Erasers
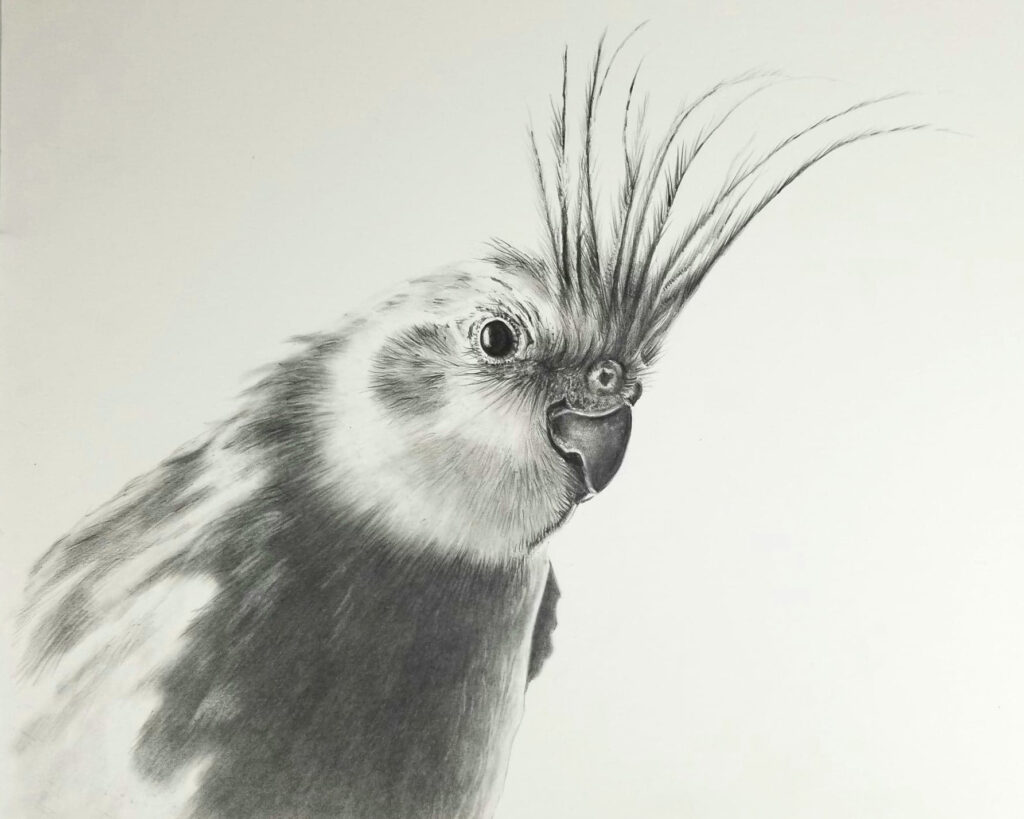
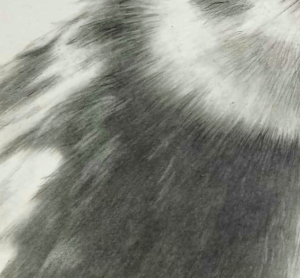
When I drew the cockatiel, I used an eraser to work negatively, carving in some feathers in the breast of the bird.
I recommend a kneaded eraser (aka putty eraser). It has a myriad of uses, although I use it mostly for lifting sketch lines. In order to minimise those lines, I roll the kneaded eraser into a sausage shape, and roll it back and forth across the page. I happen to like the colored kneaded erasers made by Faber Castell.
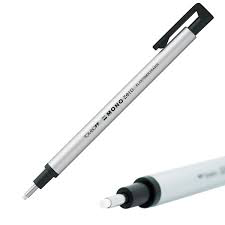
The Tombow Mono Eraser is an essential tool for graphite. It’s great at erasing tiny areas, and can also be sharpened with an X-acto knife for even greater precision. It comes with replaceable erasers and lasts a long time before needing refills. It’s really effective for creating fine details on fur and feathers.
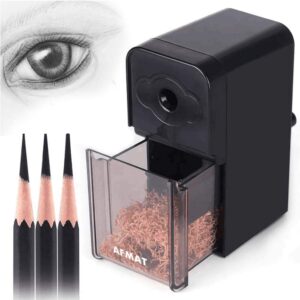
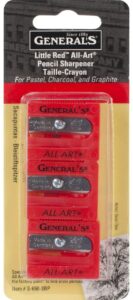
The Afmat Artist’s Manual Sharpener has an helical steel cutter that produces a very fine point without over sharpening. One of the best features about this sharpener is that once it sharpens the pencil, it shuts off. You can sharpen pencils with wider diameters, such as Derwent pencils, that won’t fit into regular sharpeners. The helical blade can be purchased separately from the company website. The General’s pencil sharpener is a winner. It gets the point sharp enough but rarely, if ever, breaks a lead. I keep a few around.
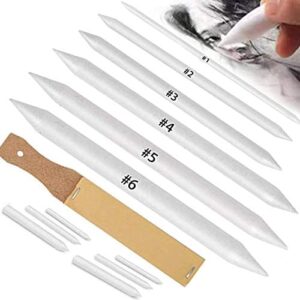
5 Blending stumps
These are indispensable tools. Made up of compressed paper, they blend and smooth graphite on paper. They’re useful for keeping oils from fingers away from artwork. I’ve used them successfully in portraits for smoothing skin tones, and adding soft transitions and shadows. It’s worth buying a selection of sizes. The kit I recommend comes with a sanding block for sharpening them.
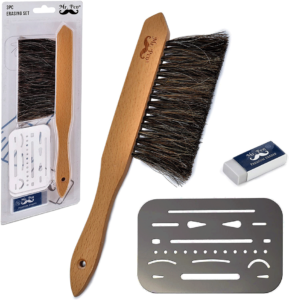
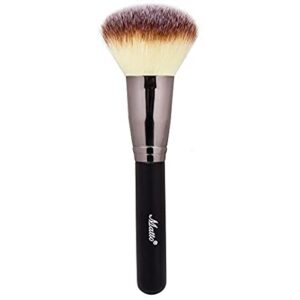
6 Drafting brush or fluffy makeup brush Particles often get in the way when you erase.To avoid smudging or using fingers, sweep them away with a drafting brush or makeup brush.
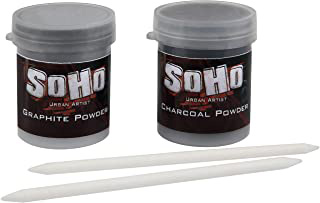
7 Graphite powder
I use graphite power in almost all my work. It covers large areas of paper quickly and goes on smoothly. I covered the entire breast area of my cockatiel this way, and was able to complete the drawing in less than 90 minutes! I store it in a screw top jar and apply it with an eyeshadow applicator.
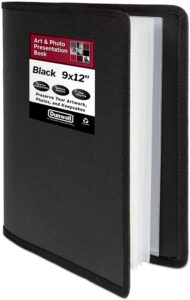
8 Art portfolio Once you’ve created a body of work, it’s a good idea to store it inside a portfolio with protective sleeves. This shows off your artwork and protects from damage. 9 x 12 inches.
List of Supplies Strathmore Bristol Smooth Series 300paper 9 x 12 inches https://amzn.to/3bxi694 Strathmore Bristol Vellum Series 300 paper 9 x 12 inches https://amzn.to/3qmwF3c Faber Castell 9000 Series pencilshttps://amzn.to/3oItWRu Faber Castell Kneaded Erasershttps://amzn.to/3nO3AvT Tombow Mono Zero Eraser https://amzn.to/3sqnC3d Afmat Artist’s Manual Pencil Sharpener https://amzn.to/2Y9xz7g Generals sharpener https://amzn.to/2Kc7fpI Blending stumps with sanding blockhttps://amzn.to/3qiC37x Drafting brushhttps://amzn.to/3idpbg4 Makeup brush https://amzn.to/39gAeCB Graphite powder https://amzn.to/3smN8GA Art portfolio 9 x 12inches https://amzn.to/39hbzx
These are affiliate links. If you purchase, I receive a small commission at no extra cost to you.
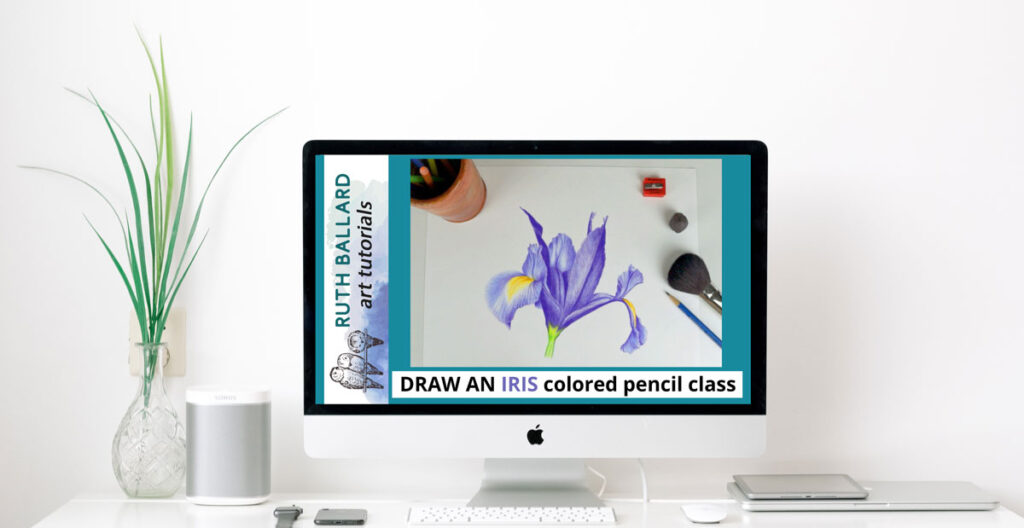
Create a realistic looking Iris with my FREE colored pencil drawing class!
This video tutorial includes a copyright-free reference, traceable line art, supply list and colored pencil swatch. I talk you through all the techniques required to begin creating an iris botanical illustration from start to finish!
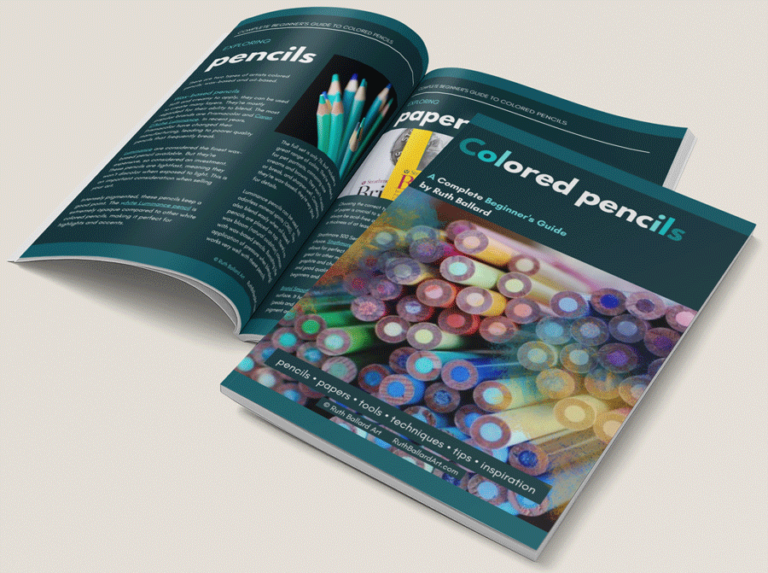
Colored Pencils – A Complete Beginner’s Guide
All the information you need to start creating beautiful drawings is contained within this gorgeous 20-page guide! It’s jam-packed with articles recommending the best pencils and papers to use as well the great tools to guide your artistic journey. Offering tips, techniques and inspiration, it’s yours FREE to download!